EU5 Situations Explained
The Political Influence guide already told you that interacting with Situations costs Political Influence. What it never explained is what a Situation actually is. This article is that explanation, the missing piece that turns a line-item cost into something you understand before you spend on it.
One quick caveat before the deep dive, the same one worth giving for any mechanics piece this far into a live-service Paradox title: the wiki’s Situations page is tagged both “Potentially outdated” and “Pre-release,” and named situations have already been through several balance passes. The framework here is real and confirmed, the idea that EU5 plays out historical moments as living systems. Treat the specific historical situations and their exact numbers as subject to tuning in later patches, and check in-game prompts before betting a war on a figure.
Source: Paradox Interactive / Europa Universalis V official screenshots
What a Situation actually is
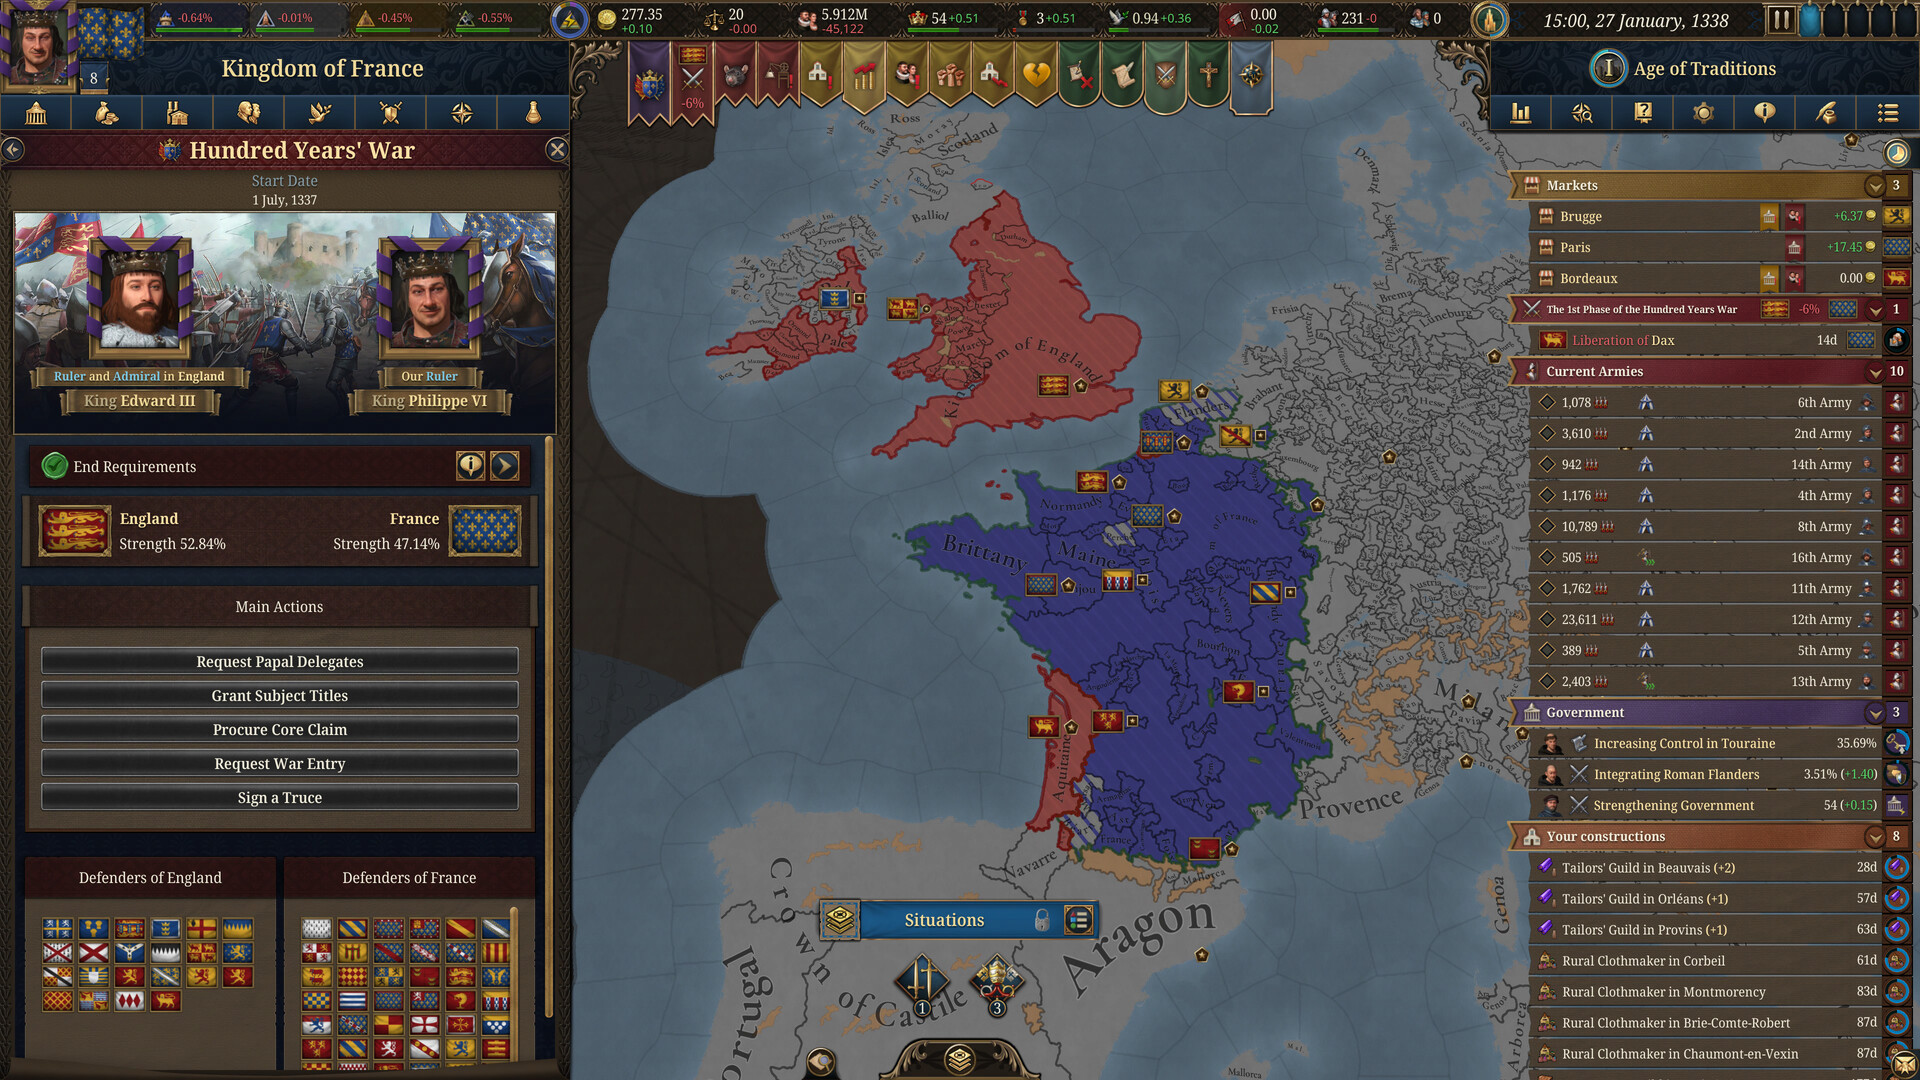
A Situation is a historical arc the game plays out as a connected, ongoing event rather than an isolated one-off trigger. Think the Hundred Years’ War, the Guelphs versus Ghibellines struggle in Italy, the Reformation, the Black Death, the Rise of the Turks, or Japan’s Nanbokuchō Jidai civil war. Each of those isn’t a single event firing once and then vanishing, it’s a story with phases, participants, and choices that unfold across years of in-game time.
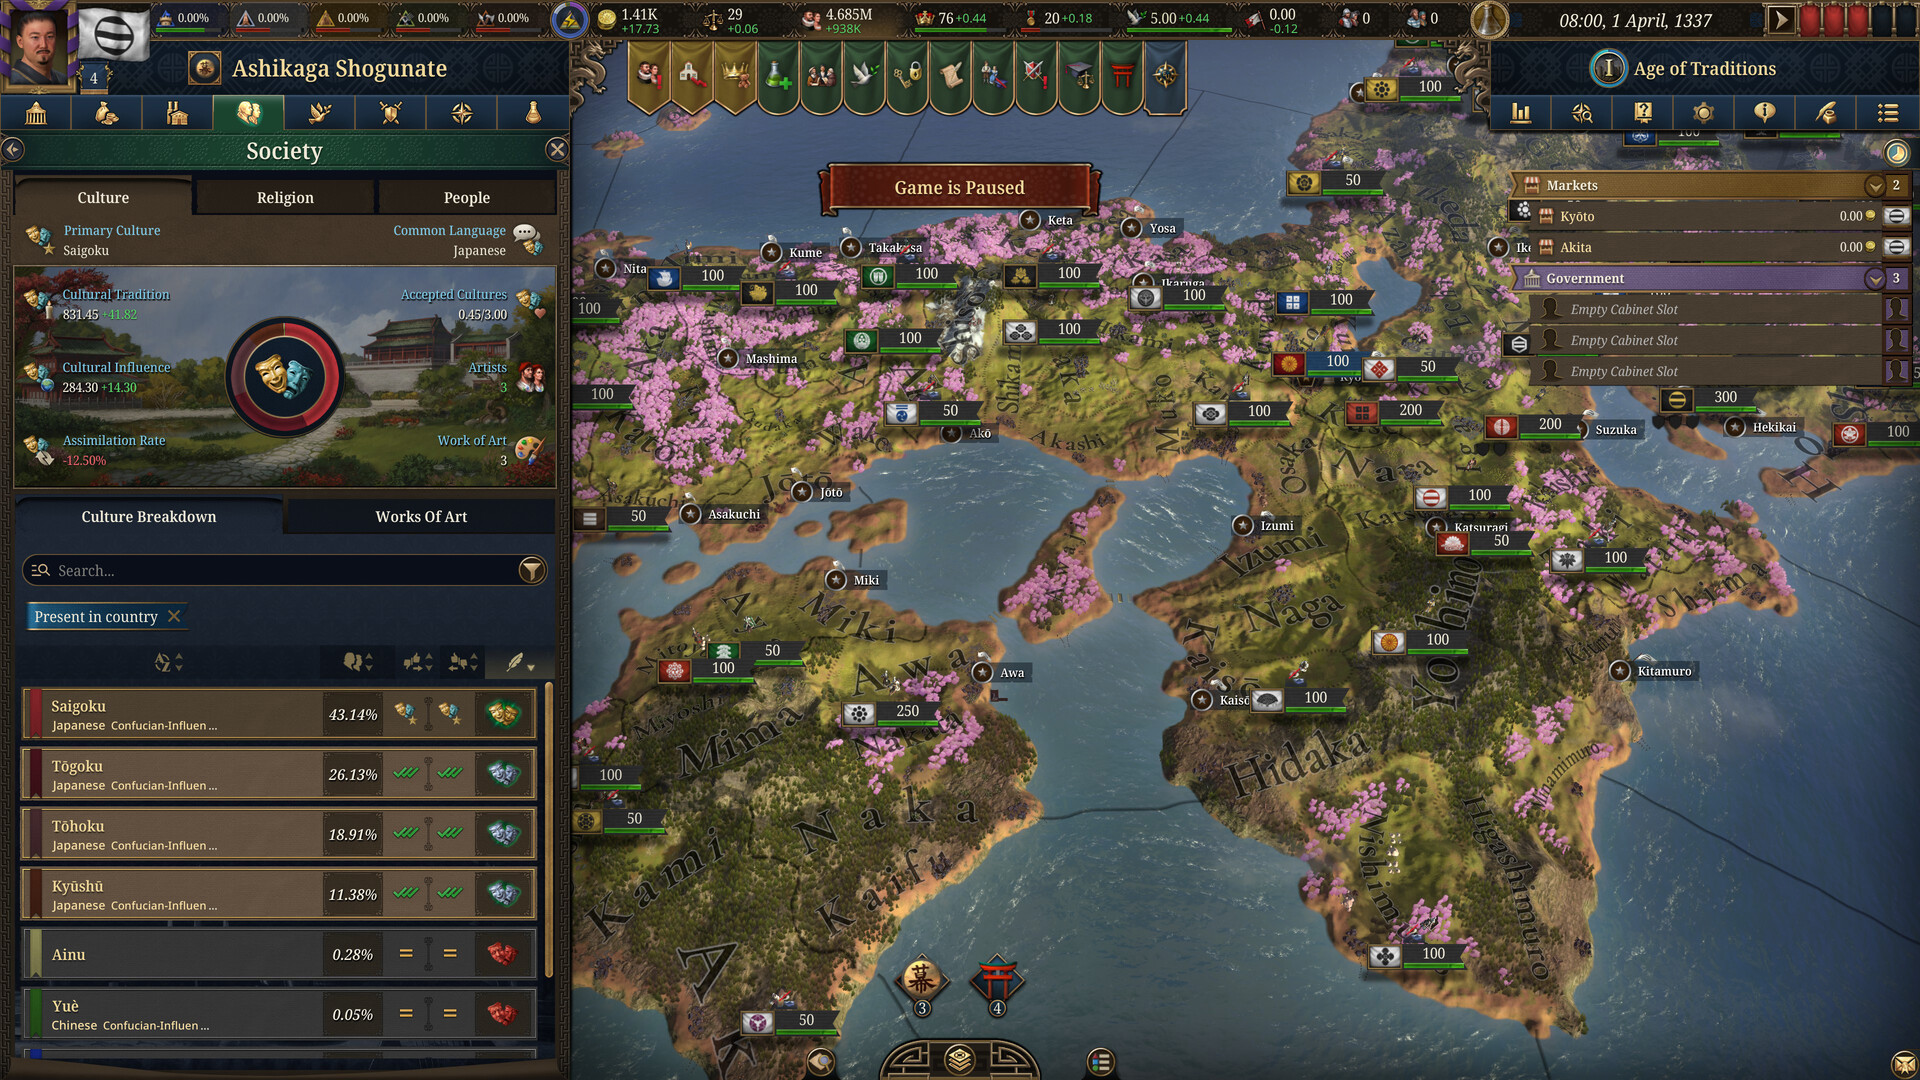
That might sound abstract until you remember why EU5 starts in 1337 in the first place. EU4 started in 1444, more than a century later, which means a lot of its most famous historical moments were already underway or over before you ever loaded in. EU5 deliberately pushes the start date back more than a century specifically so you can experience some of these situations from their actual historical beginning instead of joining partway through. That is a genuinely different design philosophy from EU4, and it changes how you approach the opening of any campaign.
Source: Paradox Interactive / Europa Universalis V official screenshots
The worked example: Nanbokuchō Jidai
The clearest way to see how a Situation actually functions is the Nanbokuchō Jidai, the 1337 Japanese civil war between two imperial courts. Worth acknowledging up front: every Situation is built differently, some include their own sub-systems like the Leagues in the Italian Wars, so treat this as one strong illustration of the pattern rather than a universal template. But it shows the bones of the mechanic better than anything else in the game.
When the situation starts, every involved country is placed into one of two sides, the Jimyōin Court supporters or the Daikakuji Court supporters, or else it stays neutral. Countries on the same side cannot declare war on each other, which immediately turns the diplomatic map of medieval Japan into a hard-coded faction split.
Then comes the real decision. Each involved country chooses to support the side it historically supported, support the opposing side, or remain neutral, and each choice carries a real, named cost:
-
Supporting your historical side grants +5 Prestige. If the game’s Historical AI setting is on, every AI-controlled country automatically makes this choice.
-
Supporting the opposing side costs 12 Stability and 15 Honor, a serious bill for trying to rewrite history.
-
Staying neutral costs 2.5 Stability and 5 Honor, cheaper than flipping sides but still not free, there is no side-option without strings attached.
And it doesn’t end when the situation starts. Any country that is at peace can later change its position. Moving to neutral costs 10 Stability and Honor, and flipping to the opposing side costs 30 Stability and Honor, so the exit doors are expensive too. One specific nation involved, Ashikaga, cannot make that later switch at all, they’re locked in from the moment the situation begins.
Source: Paradox Interactive / Europa Universalis V official screenshots
Situations run at every scale
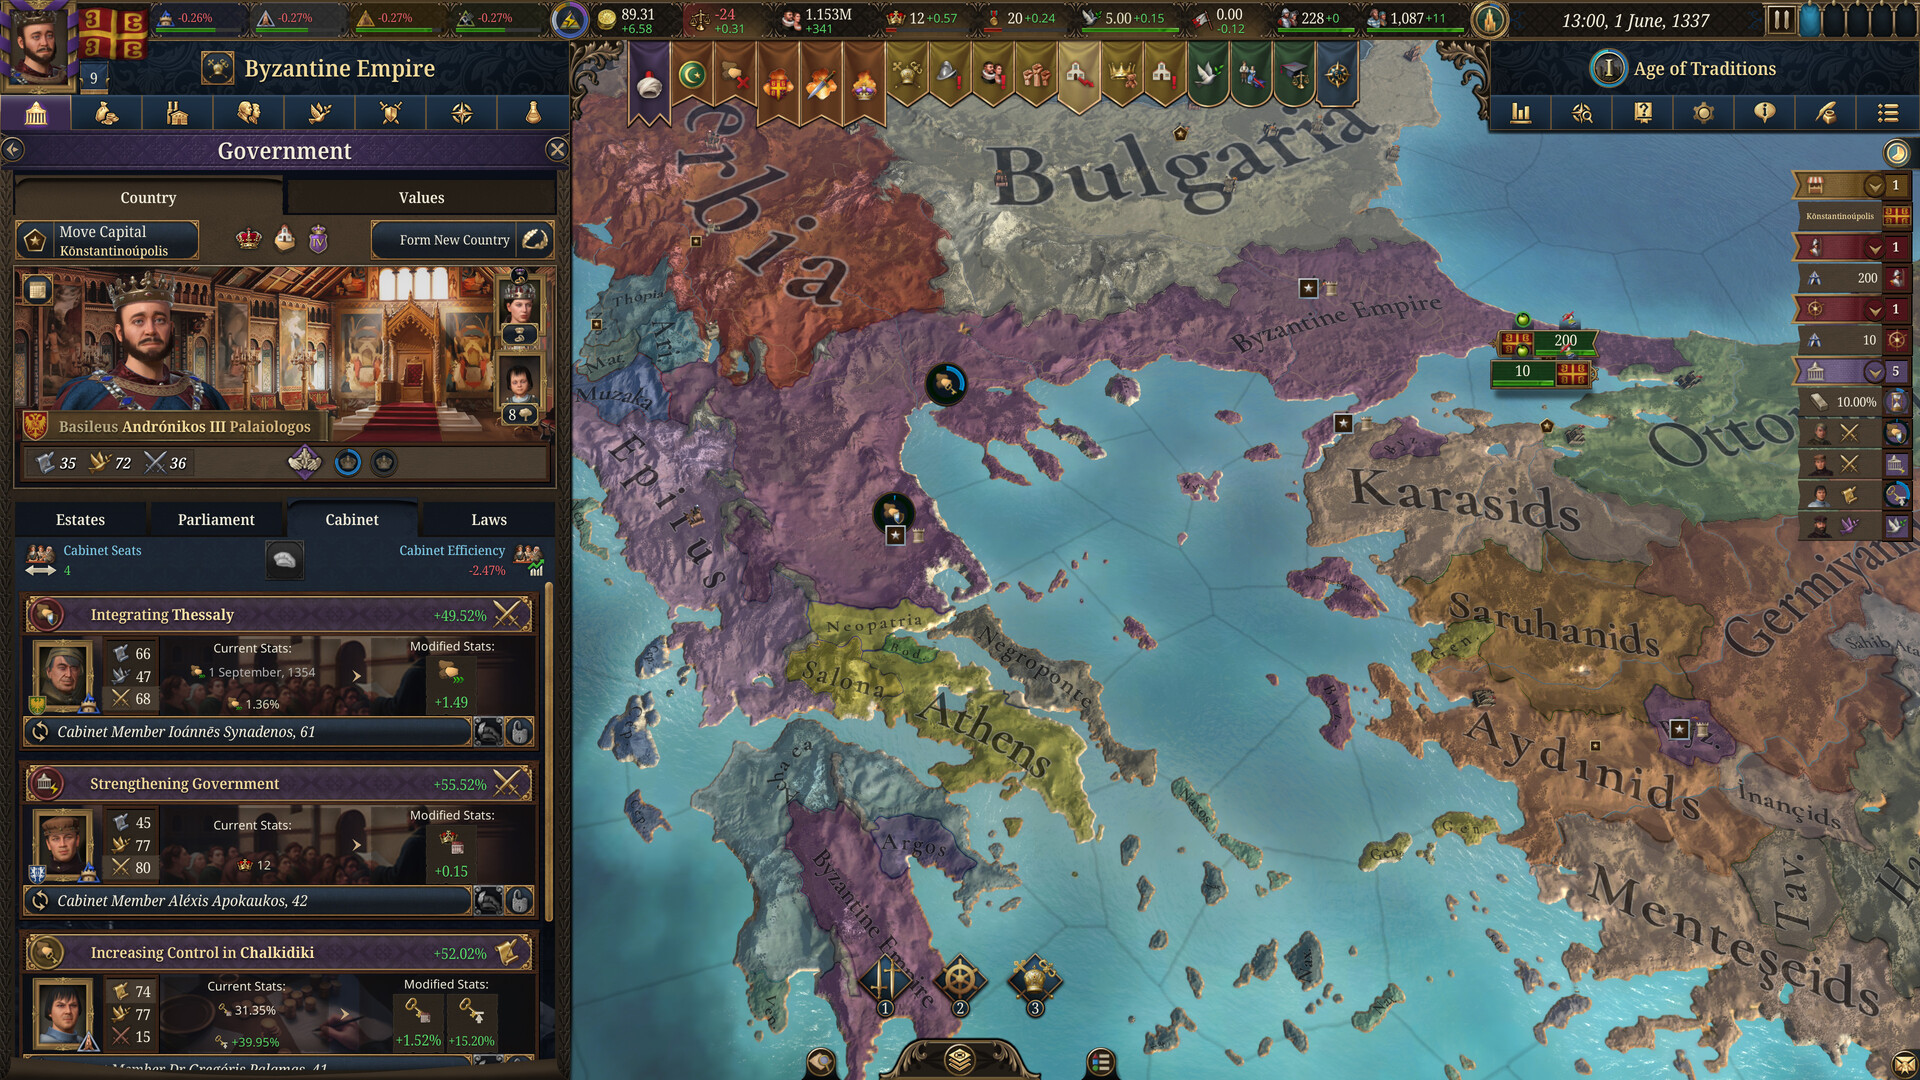
Not every Situation is a continent-spanning war. The same mechanic powers smaller, more granular moments too. Take the Rise of the Turks situation, which gives its strongest Beylik access to unique situation actions. If any location has the Conquered integration status, there is a 4% chance each month that a triggered event offers a real choice: gain 20 integration progress plus a 5-point shift in societal values toward Communalism, or gain 10 integration progress plus 7 Stability instead.
That is the same skeleton as Nanbokuchō Jidai, historical context, sides or factions, and a choice with concrete costs and rewards, just scaled way down to a single province rather than a whole region. It’s worth including here because it shows Situations aren’t only the big headline wars. They’re a layer of the game that operates at every level, and the mechanic rewards actually reading the prompt and weighing the two sides before you click.
Situations get balanced, and some contain Leagues
Everything above isn’t a dusty system Paradox shipped once and forgot. The patch notes for several releases confirm named situations have received direct balance changes, including the Rise of the Turks, the Hundred Years’ War, the Red Turban Rebellions, and the Italian Wars. One of those changes specifically improved how countries in the Italian Wars situation choose whether to join Leagues within that situation.
That confirms Leagues are a sub-mechanic inside some situations, alliance-like groupings tied to the specific historical conflict rather than a global alliance system. It varies from situation to situation, so there’s no single rule to memorize here, just know they exist and are worth watching for in whichever conflict you get pulled into.
What Situations mean when you actually play them
The Political Influence guide referenced Situations as a spending category without ever unpacking them. Now the loop is closed. Political Influence is spent on Situation interactions, and those interactions are real historical arcs with real sides, real choices, and real Stability and Honor costs attached to picking wrong. When you see a Situation fire in your campaign, you’re not watching a scripted cutscene, you’re standing inside a system that wants you to make a decision and live with its consequences.