EU4 Trade Power, Merchants, and Steering Explained
Ask around the EU4 community and you’ll find something that doesn’t happen with most other systems: players with hundreds of hours in the game quietly admitting they still don’t understand trade. It’s not their fault. Threads asking almost exactly this question turn up in 2014, 2015, 2018, 2020, 2023, and 2024, sometimes from people with over 500 hours on the clock. The individual pieces are simple enough, but the way they combine obscures everything. This article is the mechanical explanation behind the interactive trade node map on this site, and the answer to a question players have been asking for over a decade: what is trade power, what do merchants actually do, and how does steering work?
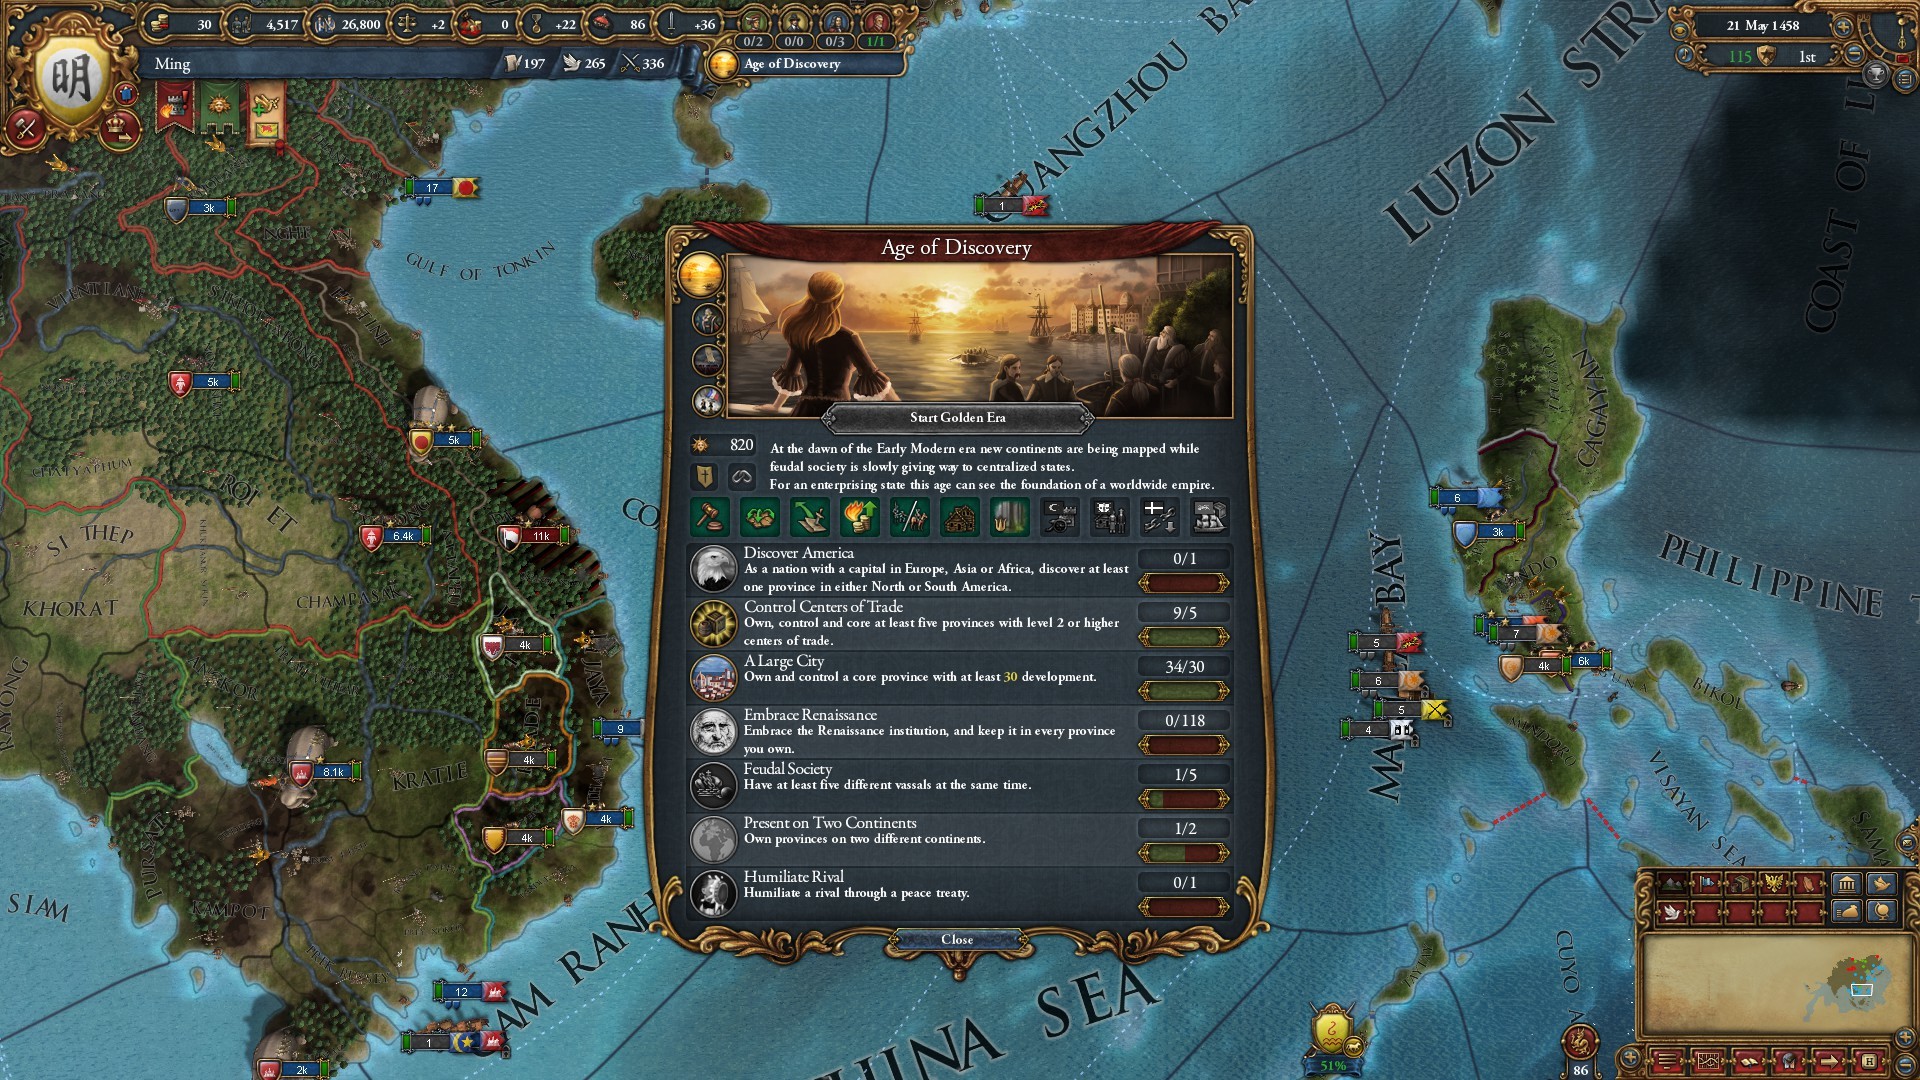
Source: Paradox Interactive, official EU4 Steam screenshot
Where trade value comes from
Every province in EU4 produces a trade good: cloth, wine, iron, gold, whatever sits on that land. The province’s trade value is a straightforward calculation, its local goods produced multiplied by the current price of the good it produces. That’s the value that enters the trade network from that province.
Two details here surprise people. Production efficiency doesn’t touch this number, and local autonomy doesn’t either. Trade value is its own separate calculation, which is why a province can look unimpressive as a producer on paper yet still pump serious value into its node.
Source: Paradox Interactive, official EU4 Steam screenshot
What a merchant actually does
A merchant placed at a trade node does one of two things. It collects, converting your percentage share of that node’s value directly into income. Or it steers, also called transferring, pushing the node’s value onward toward a connected node instead.
That’s the entire job description. Merchants don’t generate trade value out of thin air, they either cash in your existing share of a node or move it along the network. Most of the confusion around trade clears up once you hold onto that basic distinction.
One restriction worth knowing: a merchant can only reach nodes within your country’s trade range. You can’t place one anywhere on the map, geography and range decide where you can operate.
The flat merchant bonus
Here’s a detail that’s easy to miss because it applies no matter what the merchant is doing. A merchant present at a node gives a flat +10% trade efficiency and +2 trade power at that specific node, whether it’s collecting or steering there. That baseline is confirmed and stable.
The practical takeaway is that every merchant you field is worth a little something even before you decide where to point it. Exact numbers can shift slightly between patches, so for big decisions it’s worth checking the current in-game tooltip, but the underlying system here has held for a decade across the sources.
The steering chain
This is the single most important strategic concept in trade. The wiki’s own trade strategy guide is explicit about it: the most profitable way to grow trade income is to place merchants in a chain across nodes you control, so that each merchant compounds the value being passed to the next one downstream.
Value doesn’t just add up along that chain, it multiplies at each step where a merchant is actively steering it forward. That’s the mechanical reason experienced players talk about building a trade empire rather than just picking one good node. A long, merchant-controlled chain leading to your home node is worth dramatically more than the same nodes generating value in isolation.
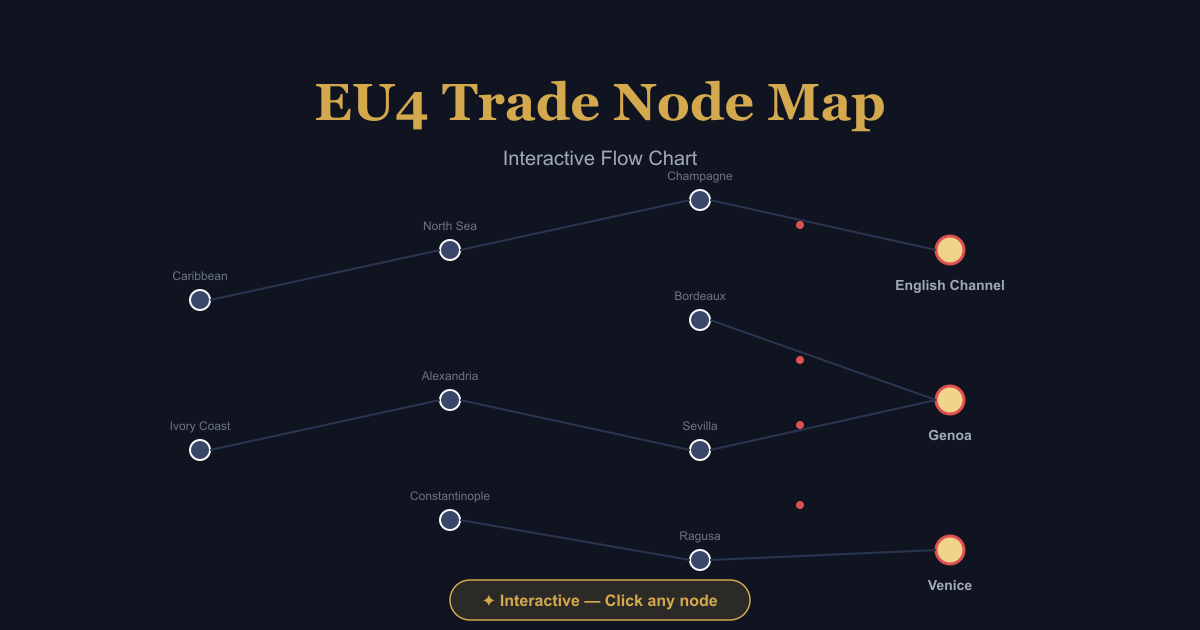
Source: Grand Strategy Hub interactive EU4 trade node map tool
The home node collection penalty
Here’s the cost that trips everybody up. Collecting at any node that isn’t your designated home or primary trade node comes with a base -50% trade power penalty. That number is stable and well known, showing up identically in player discussions from 2015, 2020, and 2024. It wasn’t patched away.
But there’s a second cost tucked behind the first one, and it’s the part that keeps confusing people even after they’ve heard about the 50% penalty. Collecting anywhere outside your home node also forfeits a separate stacking bonus. Every merchant you have transferring trade toward your home node normally adds a percentage trade power bonus there, and that bonus only applies as long as you aren’t collecting elsewhere.
So the real cost of collecting off-node is two losses stacked together, not just one. You take the direct penalty at the node you’re collecting from, and you lose the bonus back home. That’s exactly why “why did collecting from that node barely earn anything” keeps showing up in threads year after year. Honestly, this is a much harsher cost than most new players expect, and it completely changes the math on where to send your merchants.
The different kinds of trade power
If you’ve ever grabbed a trade power modifier and wondered why it didn’t seem to do anything, the answer is usually in which category it belongs to. These aren’t official wiki terms, they’re widely used community shorthand, but they explain most of the confusion:
- Provincial trade power, a flat percentage boost from province-level modifiers, stacks with mercantilism.
- Domestic trade power, only affects nodes where you actually control territory.
- Foreign trade power, only affects nodes where you don’t control any territory.
- Global trade power, applies everywhere, the most broadly useful category, but often more expensive or harder to get than the others.
- Trade steering, specifically increases your weight in determining which direction a node’s value flows, and it does nothing in a node without an active merchant steering trade.
- Trade efficiency, unlike the categories above, doesn’t touch your trade power or share at all. It’s a flat multiplier on what you actually collect once your share is determined, capped at 200%.
Steer Trade vs Transfer Trade Power
Two diplomatic tools, one short note because they’re commonly confused. Per the wiki’s diplomacy page, Steer Trade tells a target nation’s merchants to redirect where they’re pointed, but if that merchant is already sitting in its own home node, this can end up doing effectively nothing, since no real trade power changes hands. Transfer Trade Power is generally the more reliable of the two for actually getting value moved in your direction.
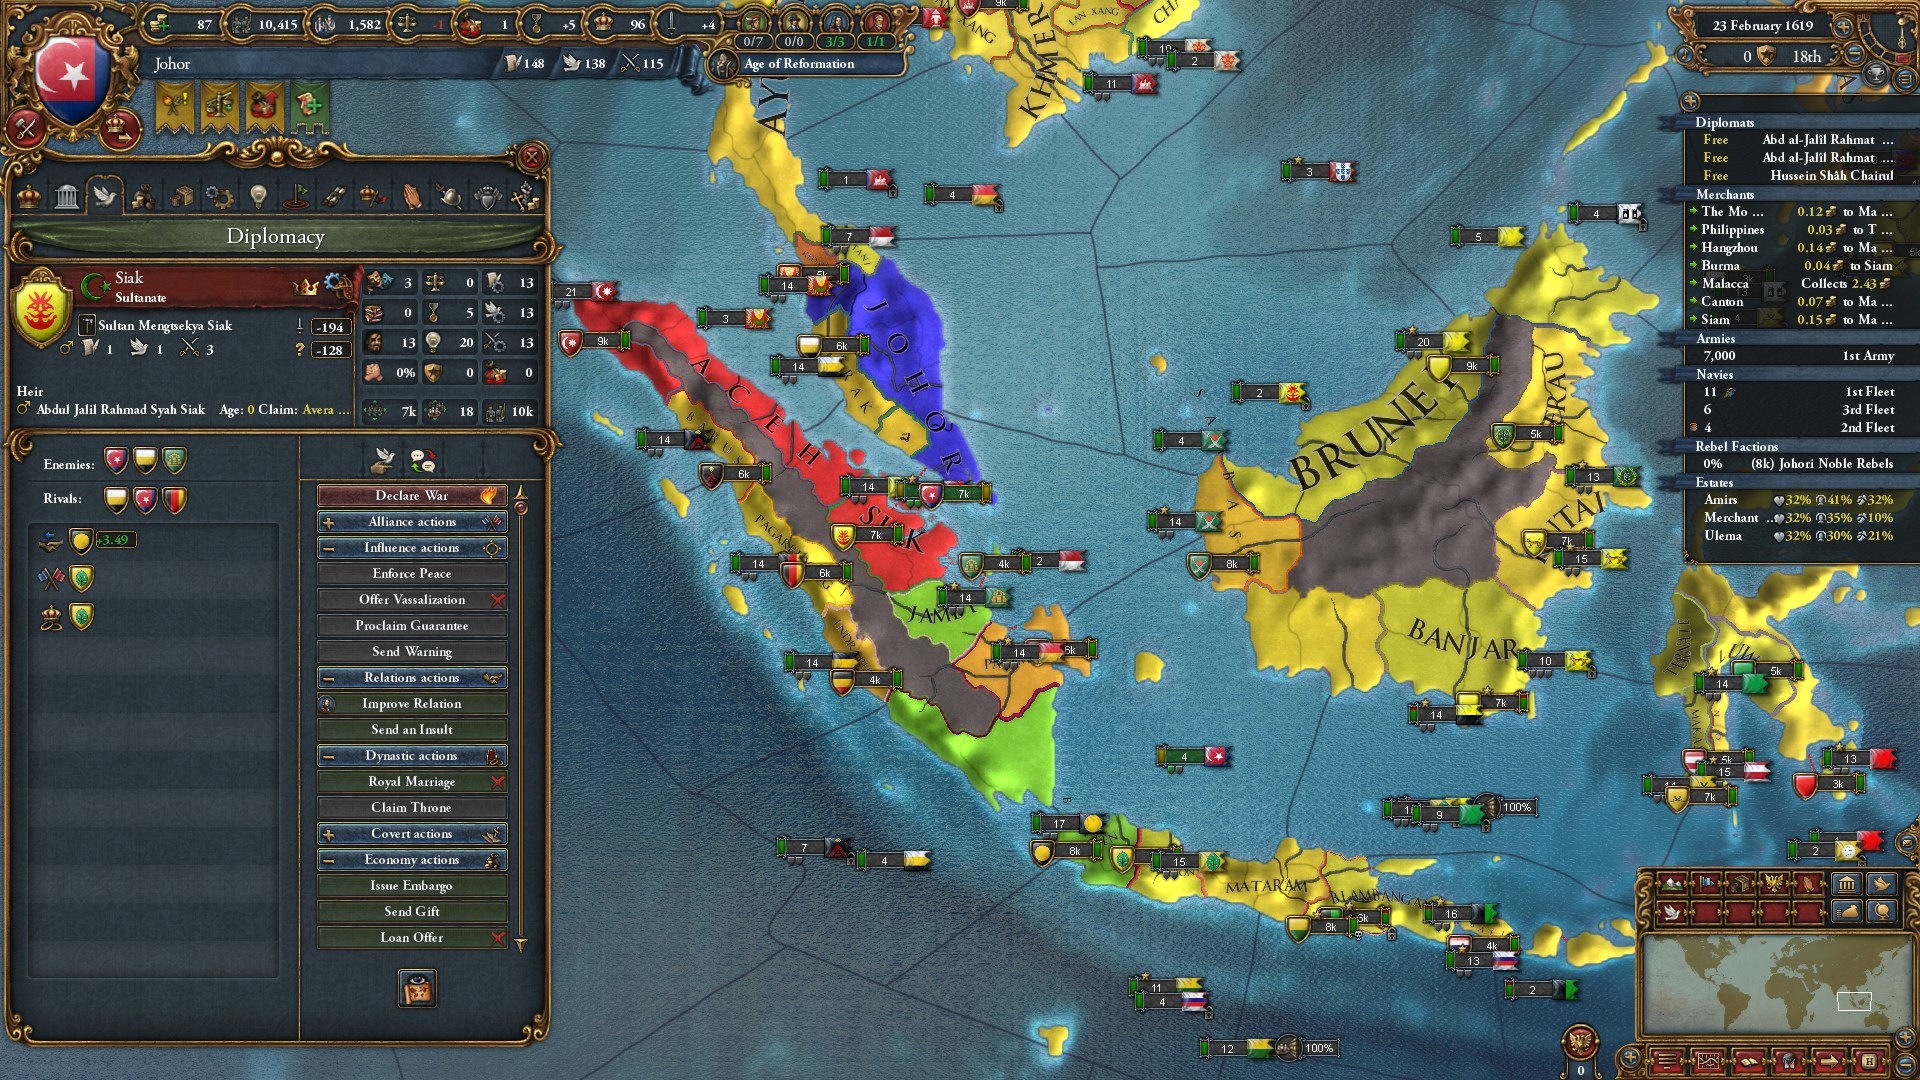
Source: Paradox Interactive, official EU4 Steam screenshot
Building your trade empire
Trade companies interact with all of this too, but that’s a distinct topic worth its own guide later. For the core system, the picture is simple. Value enters from provinces, merchants either collect it or push it onward, steering compounds it along a chain, and collecting away from home stacks two penalties onto you.
The most important number to remember is that off-home collection costs you far more than the obvious -50%, and the strongest growth comes from a long chain of steering merchants feeding your home node. That combination is the whole game. Trade power categories just explain why individual modifiers behave the way they do, and now they shouldn’t surprise you anymore.
The interactive EU4 trade node map shows the network all of this runs on, and this guide covers the mechanics underneath it. They’re meant to be read together, the map shows you the shape of the system, and this article tells you how to make it work for you.